
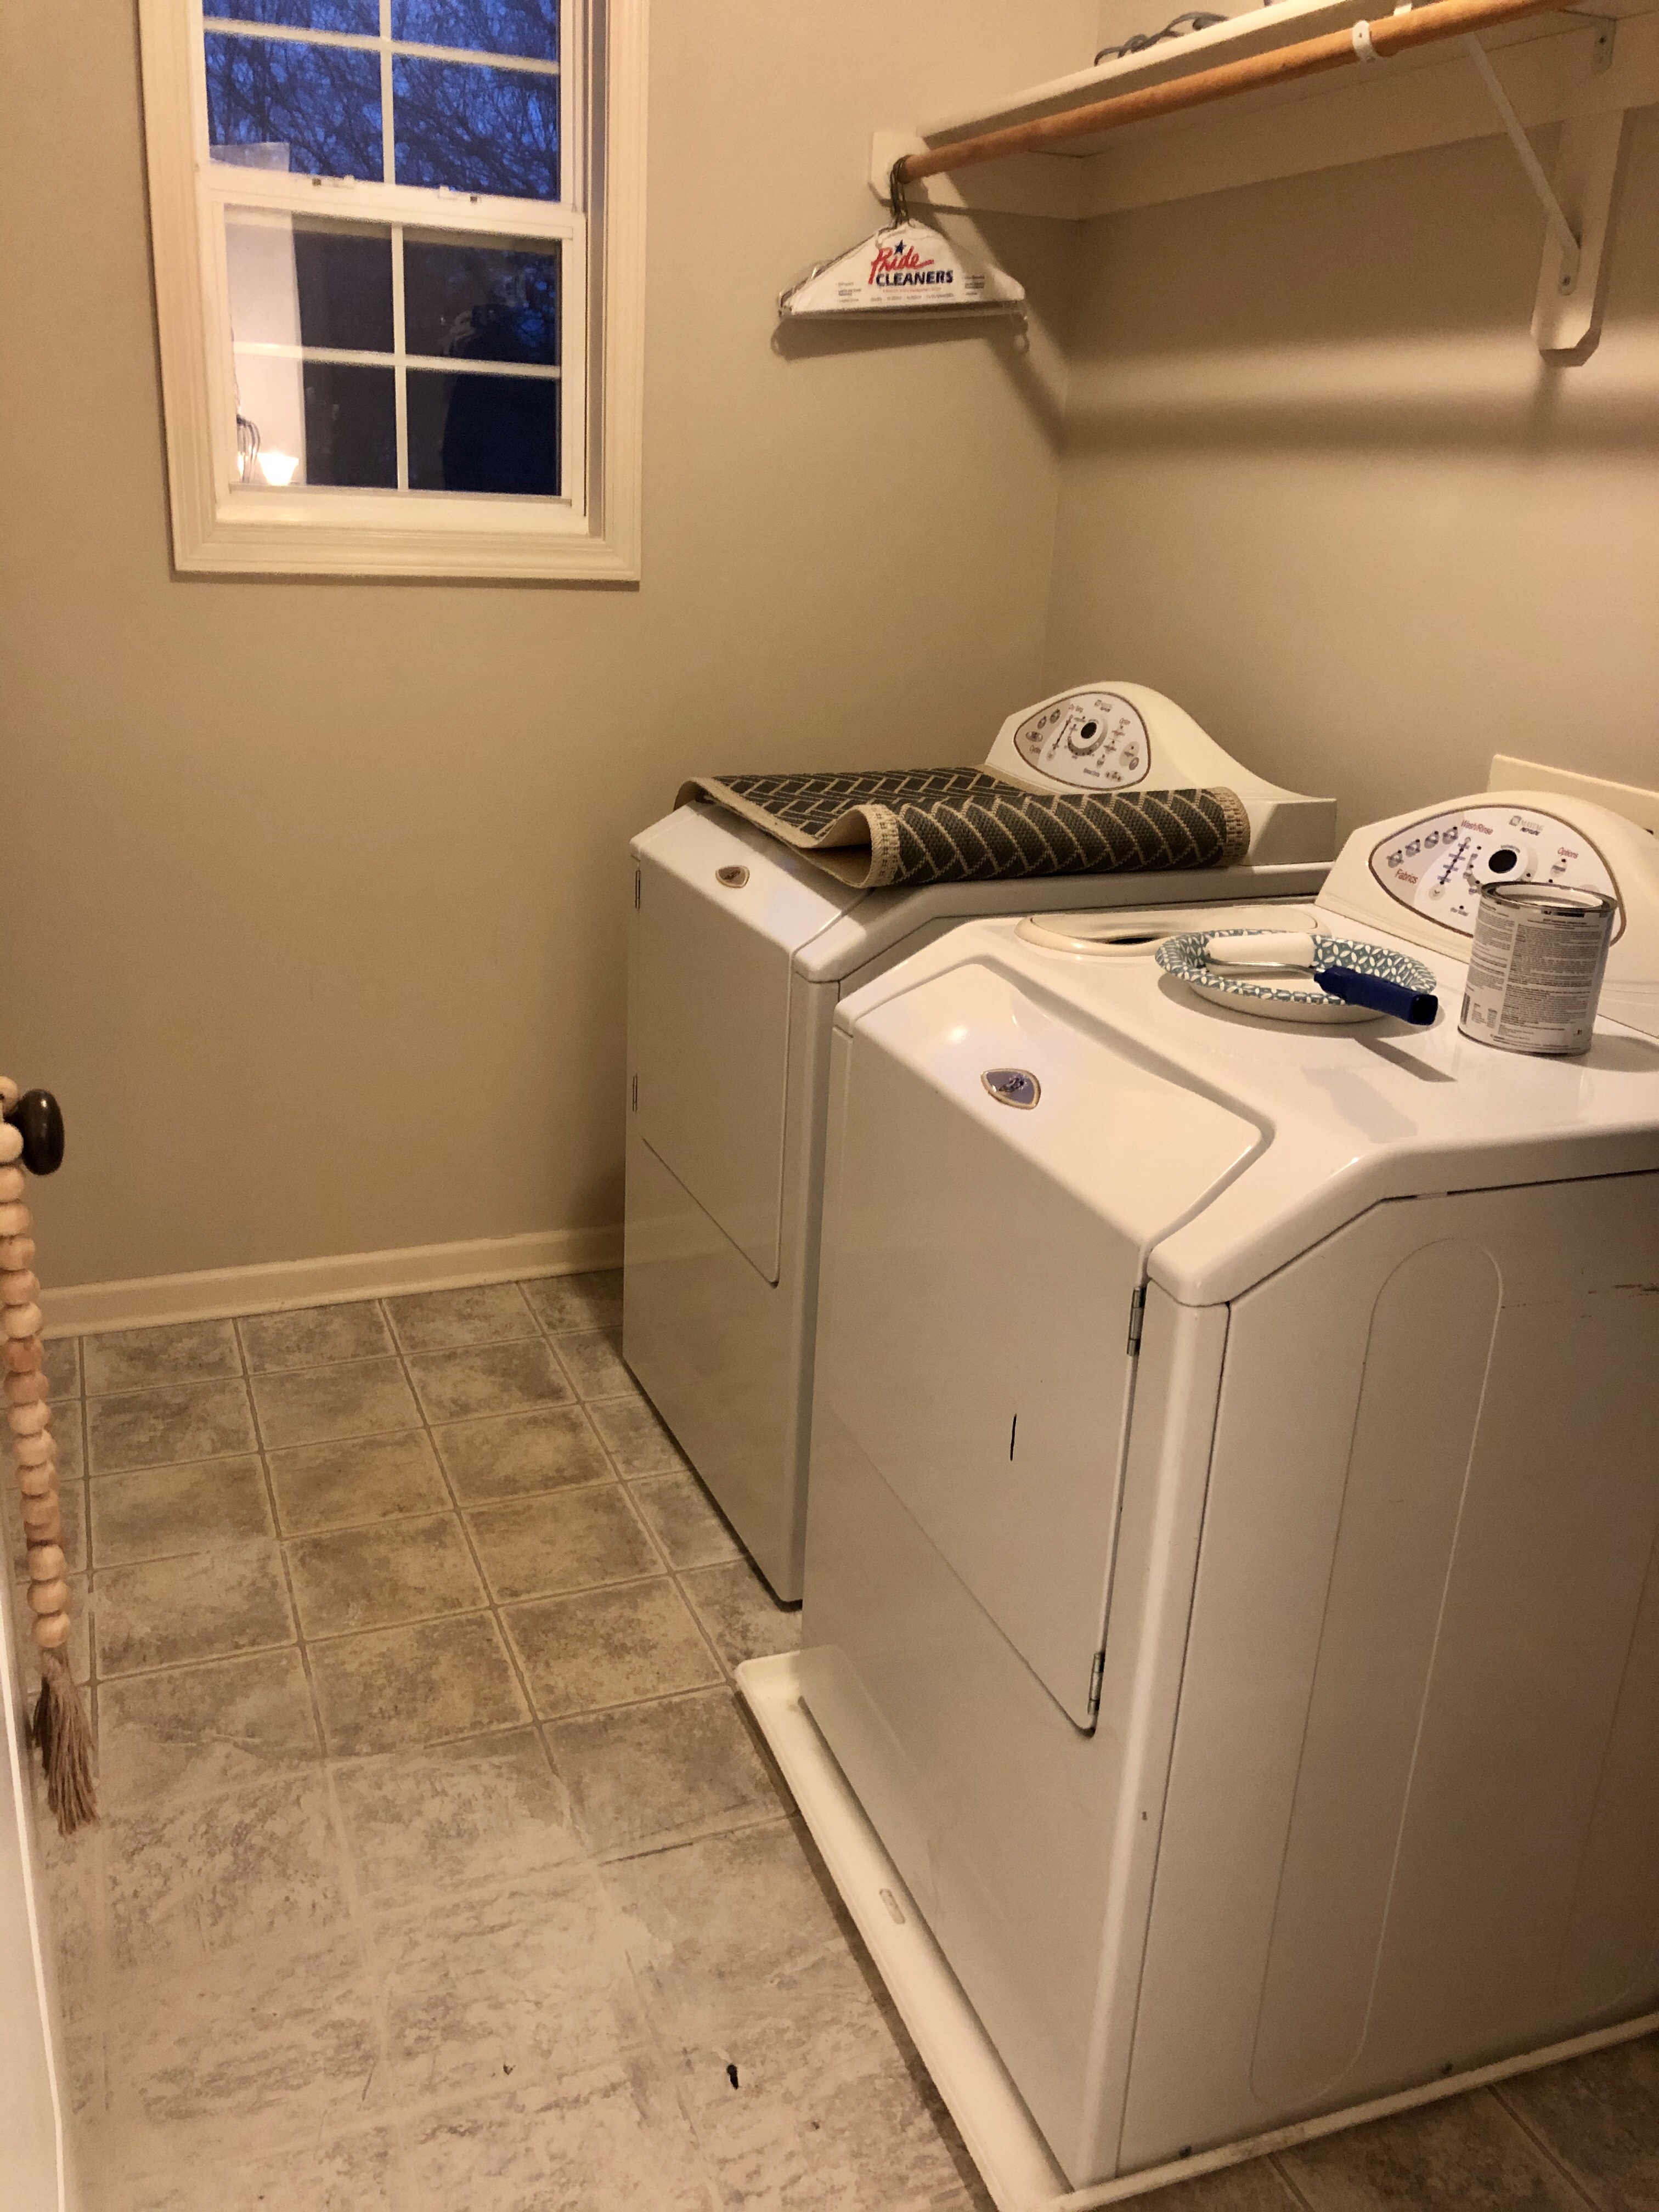
When we bought our home, one of the areas that bothered me the most was the laundry room. Specifically the floor. It was dirty linoleum with a giant paint stain on it where someone must have spilled a can of paint and never cleaned it up.
As much as I wanted to immediately rip up the linoleum and lay tile in here it was not at the top of our priority list. There were way more important things like, no light fixtures in the house except “boob lights” in the bedrooms. For some reason the previous owners decided to take the fixtures with them I guess? Not cool. Anyway, I did a lot of research and came across the Cutting Edge Stencils Instagram page. You can paint a floor?!? Yes pleeeeease. So I ended up picking a chevron wall stencil and using it as the pattern for my floor. I will say it was a time consuming process, but definitely worth it for the results. I was able to change the look of the entire room with paint and a stencil. And the result looks very similar to tile!
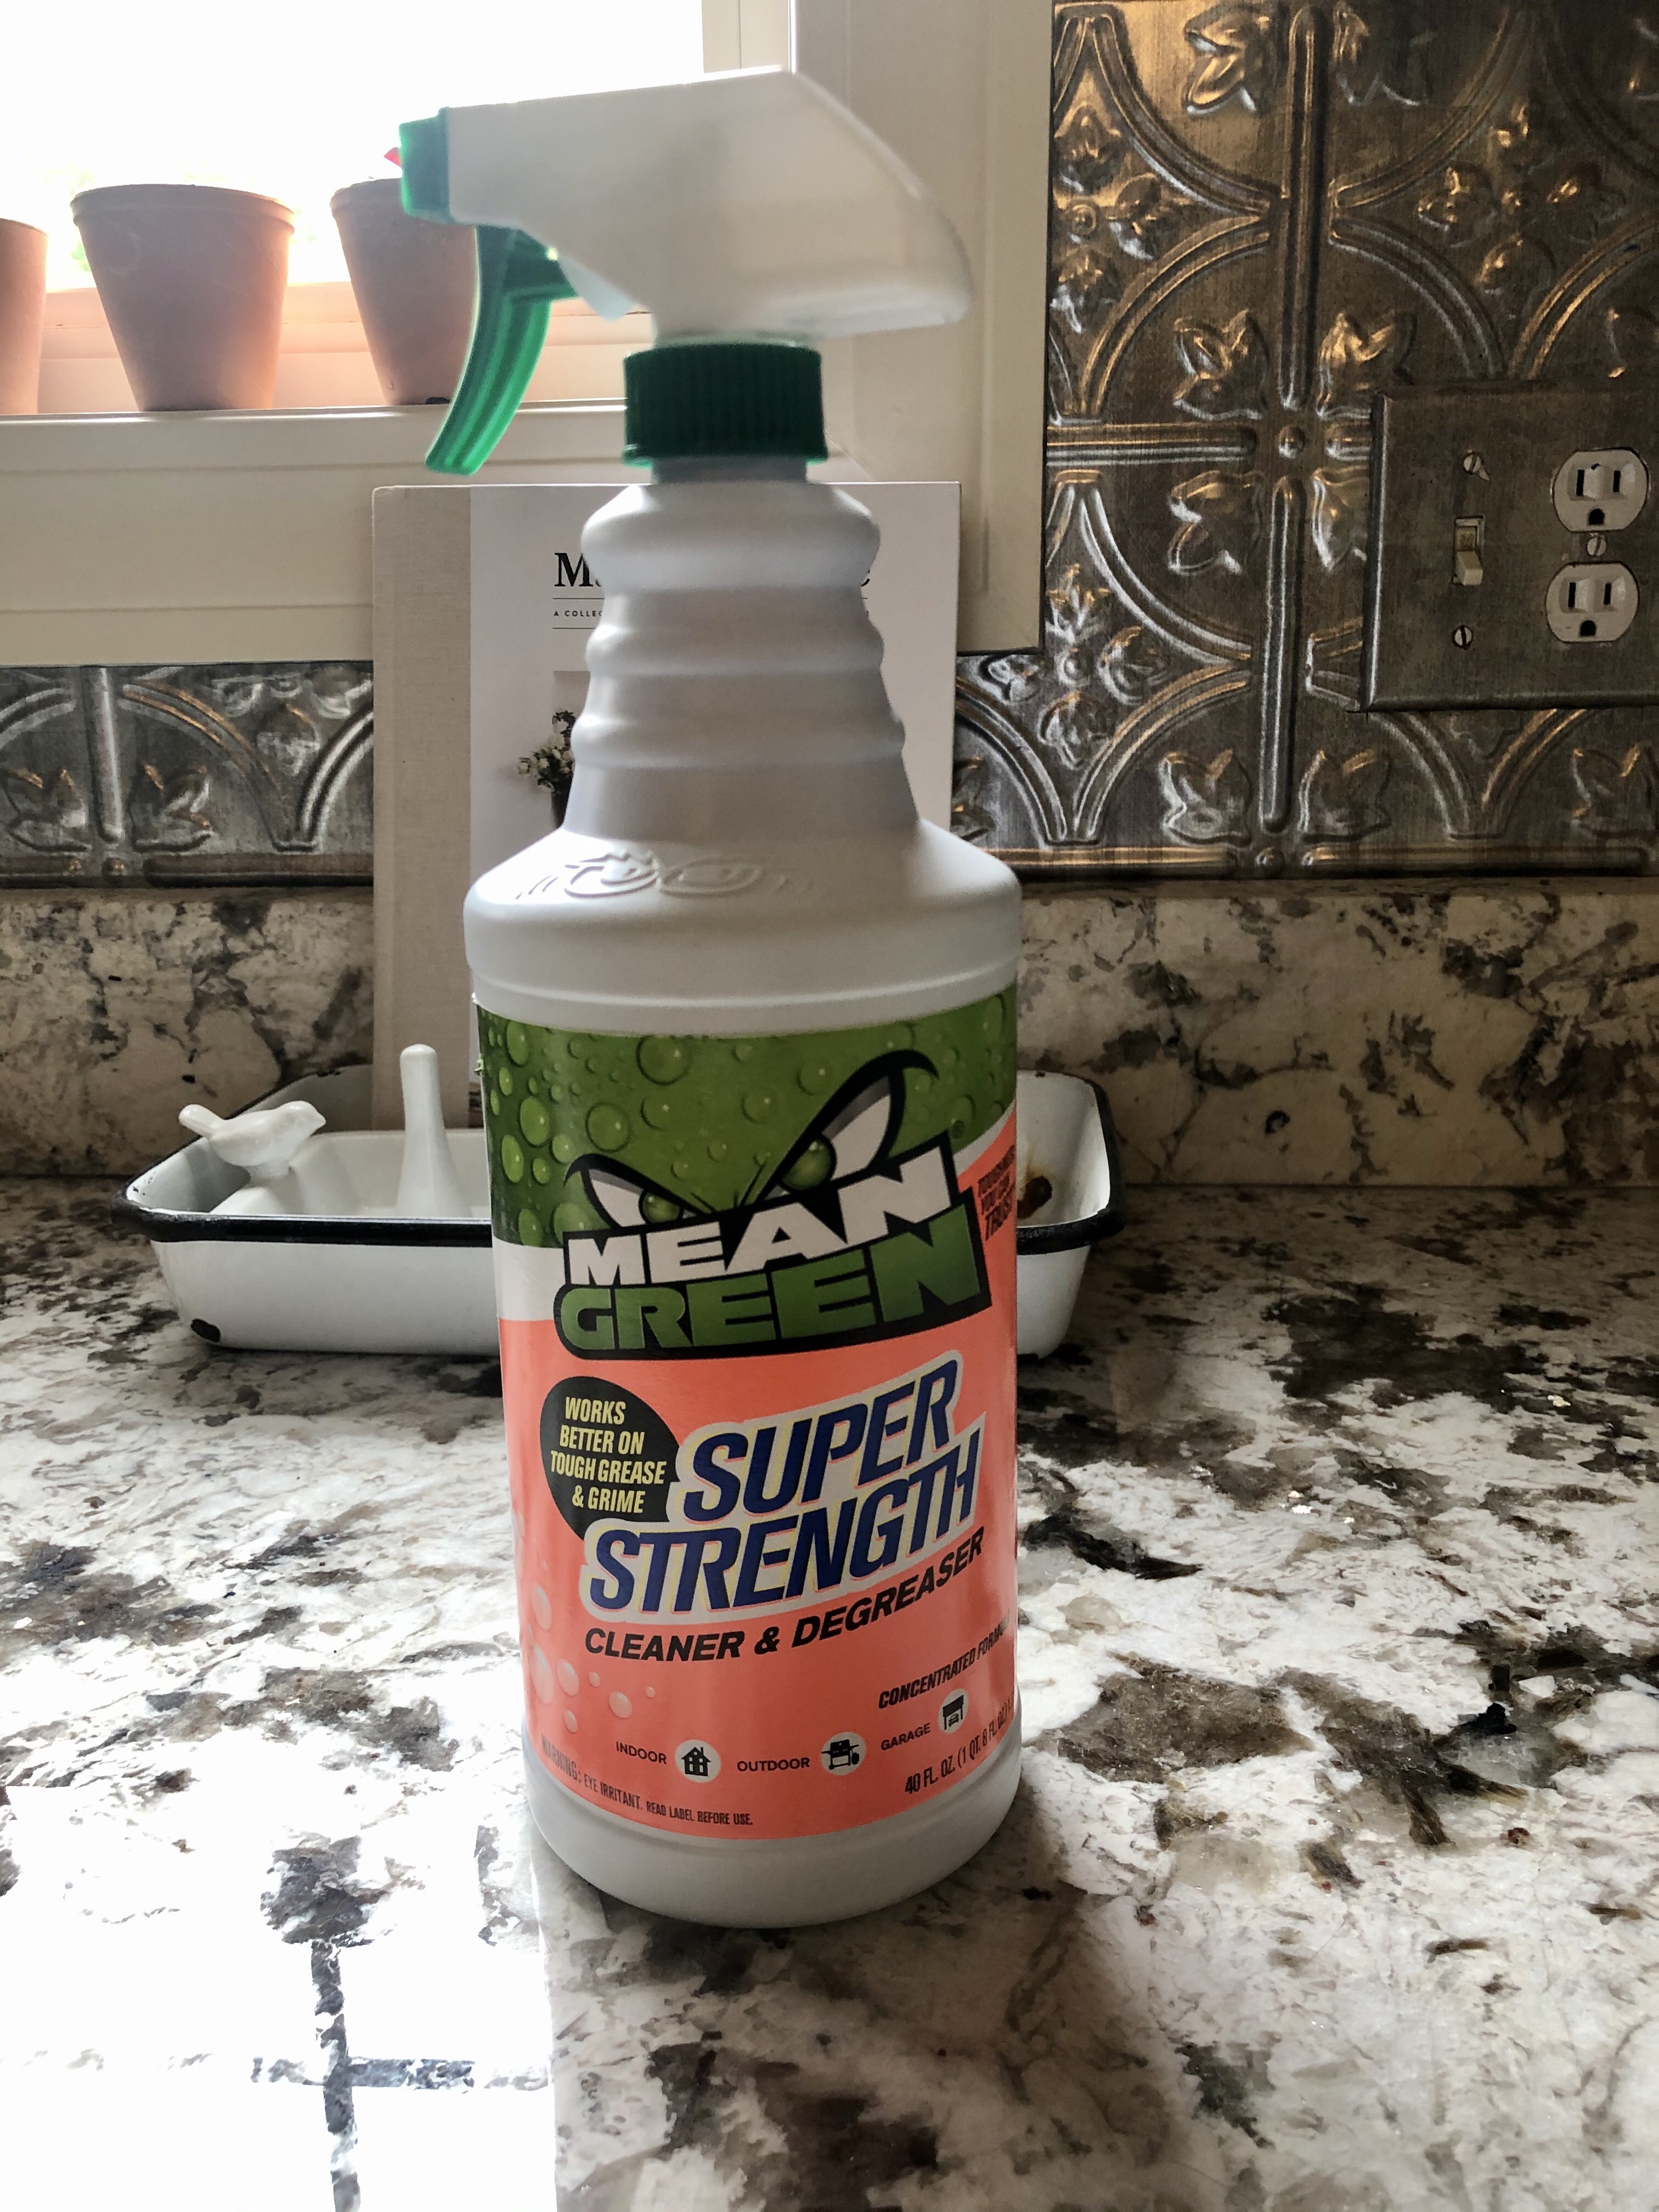
Step 1: They recommend to clean the floor with a degreaser. I used this product from Lowe’s. It was cheap and did the job.
Step 2: Prime the floor with a bonding primer. They recommend Stix which is what I used. I did 2 coats and it worked extremely well. I had no issues getting my paint to adhere to the floor after using this. I applied one coat, waited 2-3 hours and applied the second coat. A small foam roller worked great.

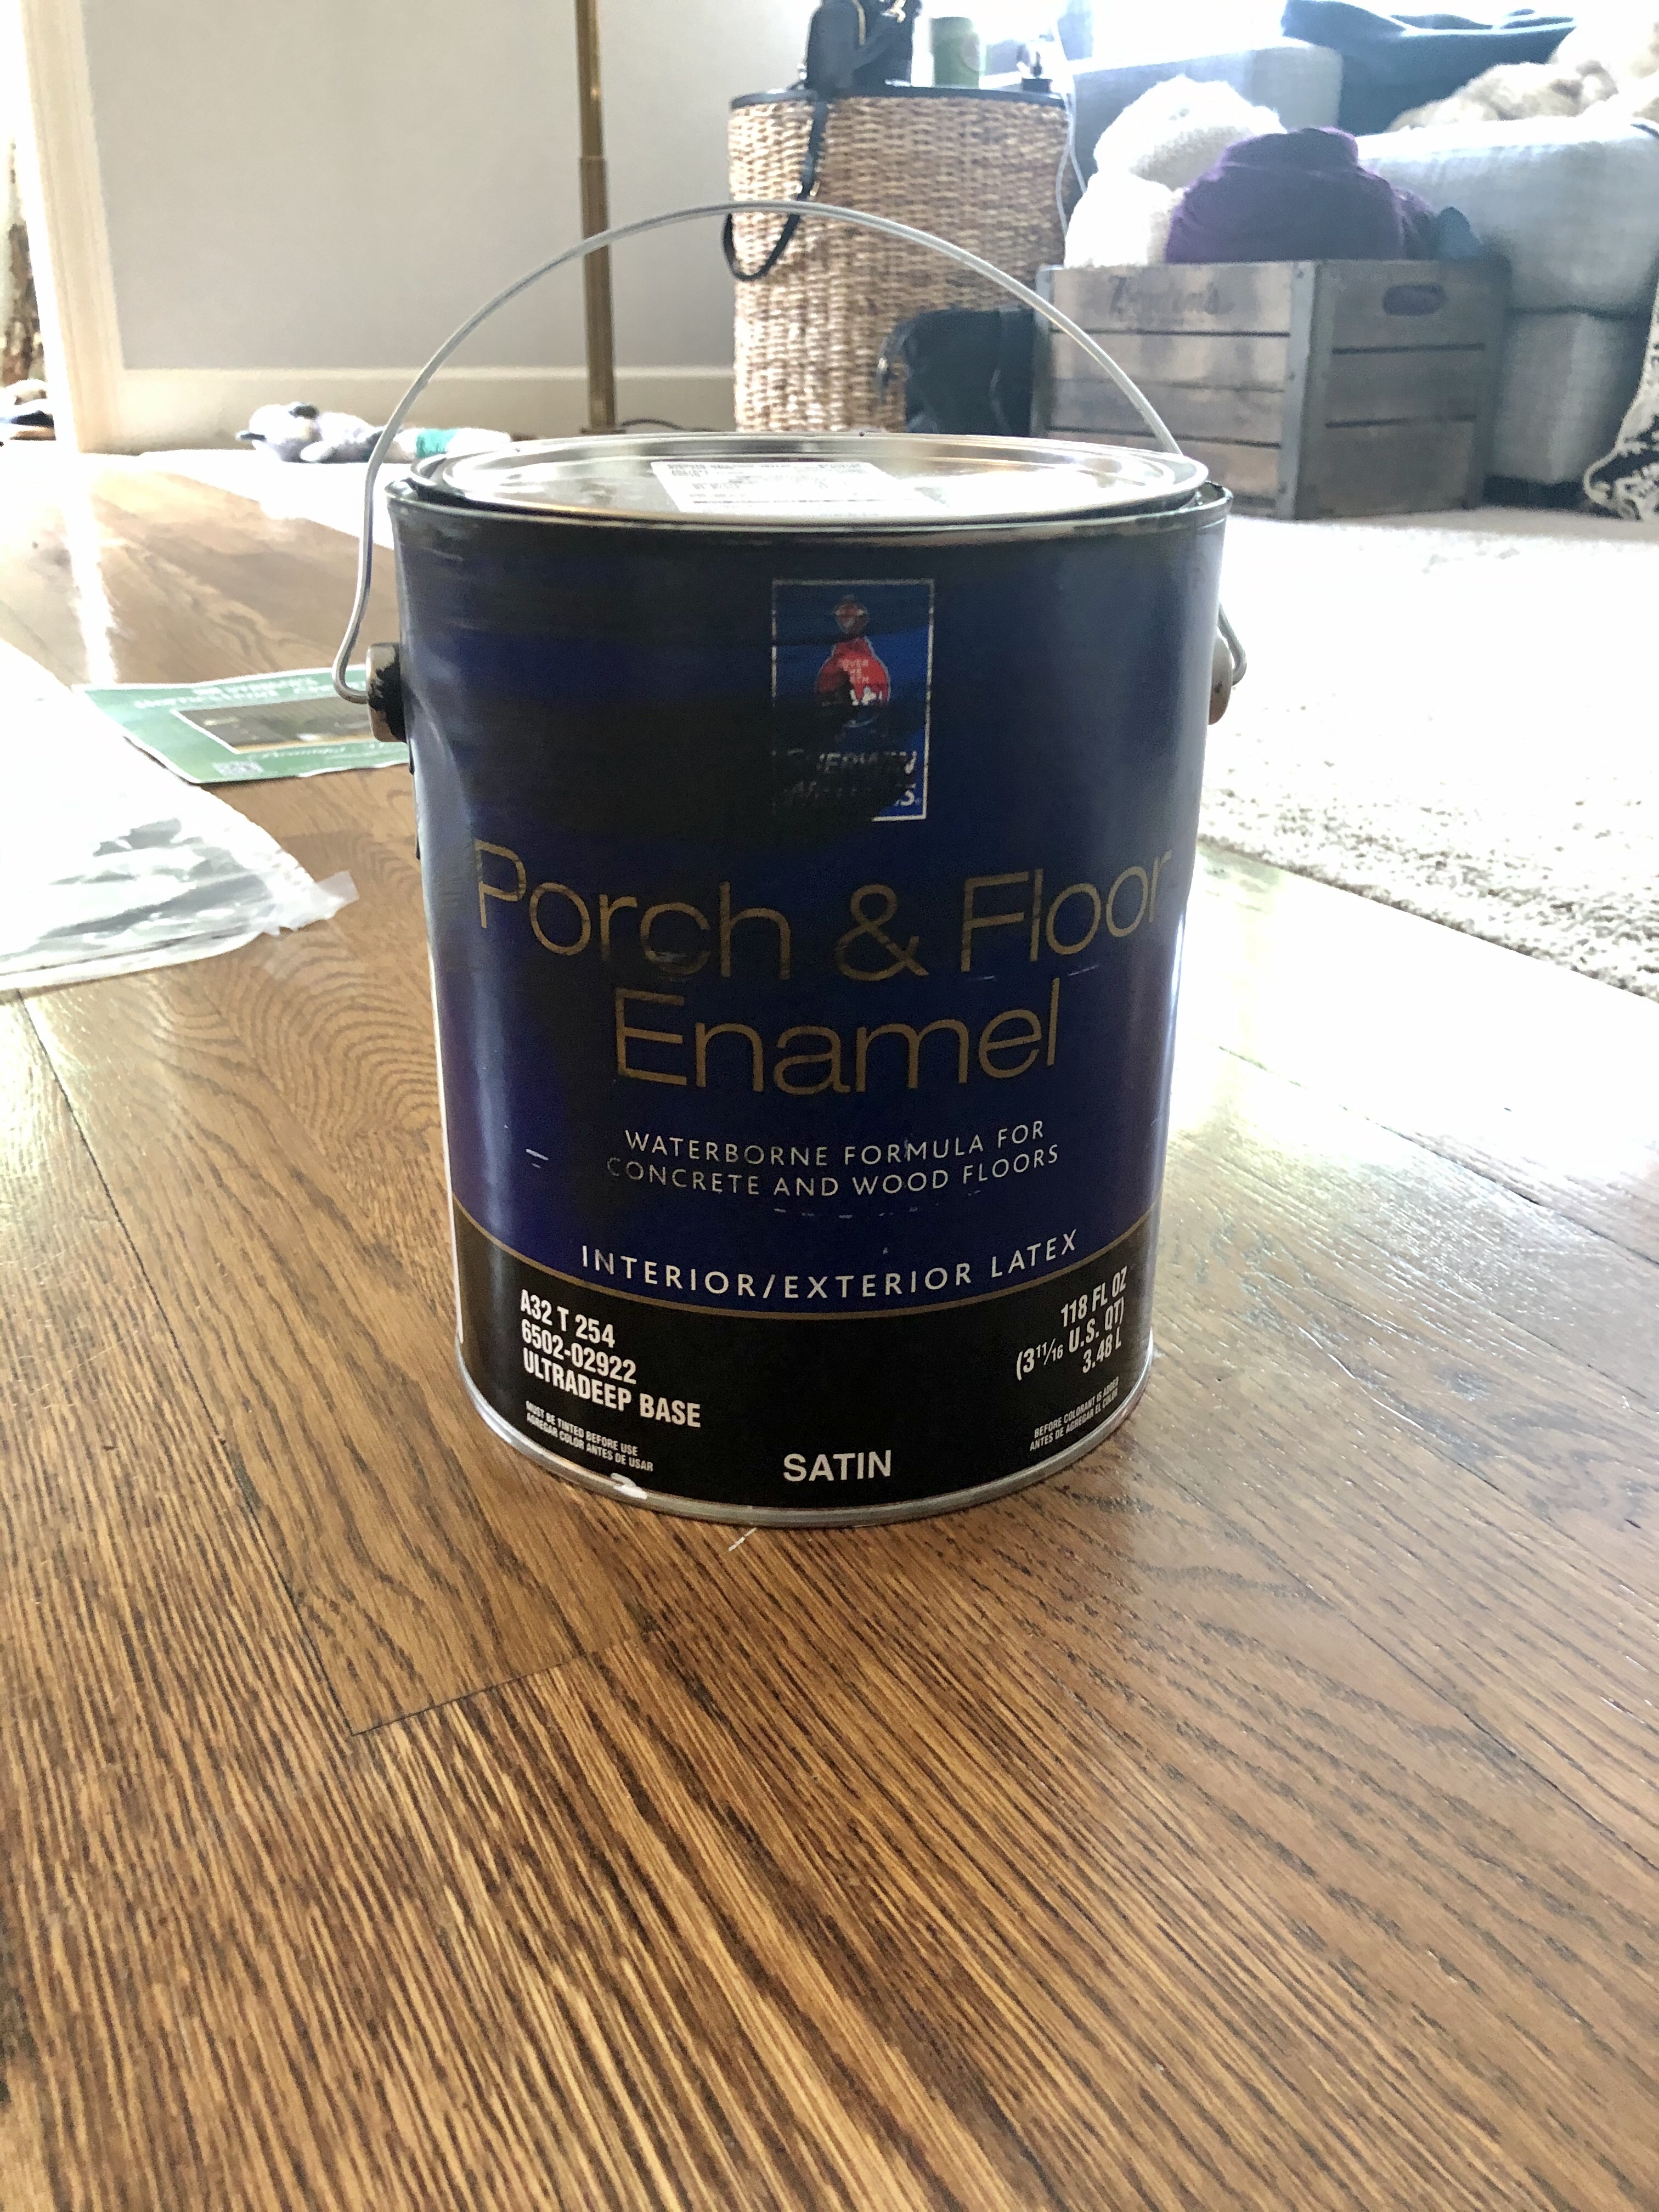
Step 3: Base coat. I wanted white grout lines so I used a white base coat. The stencil company said to use a decent quality wall paint, however I spent a little more for an outdoor patio paint because every paint expert I talked to said wall paint would not hold up, even when sealed with polyurethane at the end. So it may be fine but I didn’t want to take the risk. I used Valspar from Lowe’s. I started with cutting in with a large paint brush (my favorite brand is Purdy). Then I used a foam roller to apply my base coat to the rest of the floor, waiting at least 2 hours between coats. I also made sure to tape my trim before I started.

Step 4. The FUN part. Stenciling the floor. I chose to start in the middle of the floor so it would look more natural. If I had started at the edge I would have a clear line where my stencil had ended. And I wanted my pattern to appear as though it was going under the floorboard just like tile. How did I choose a stencil pattern, you ask?? There are so many cute options. Most pictures I saw of stenciled floors were using a square tile stencil to fit existing tile/linoleum between the grout lines. However, I have always wanted a chevron or herringbone tiled floor so I went with a chevron pattern which was technically a wall stencil.
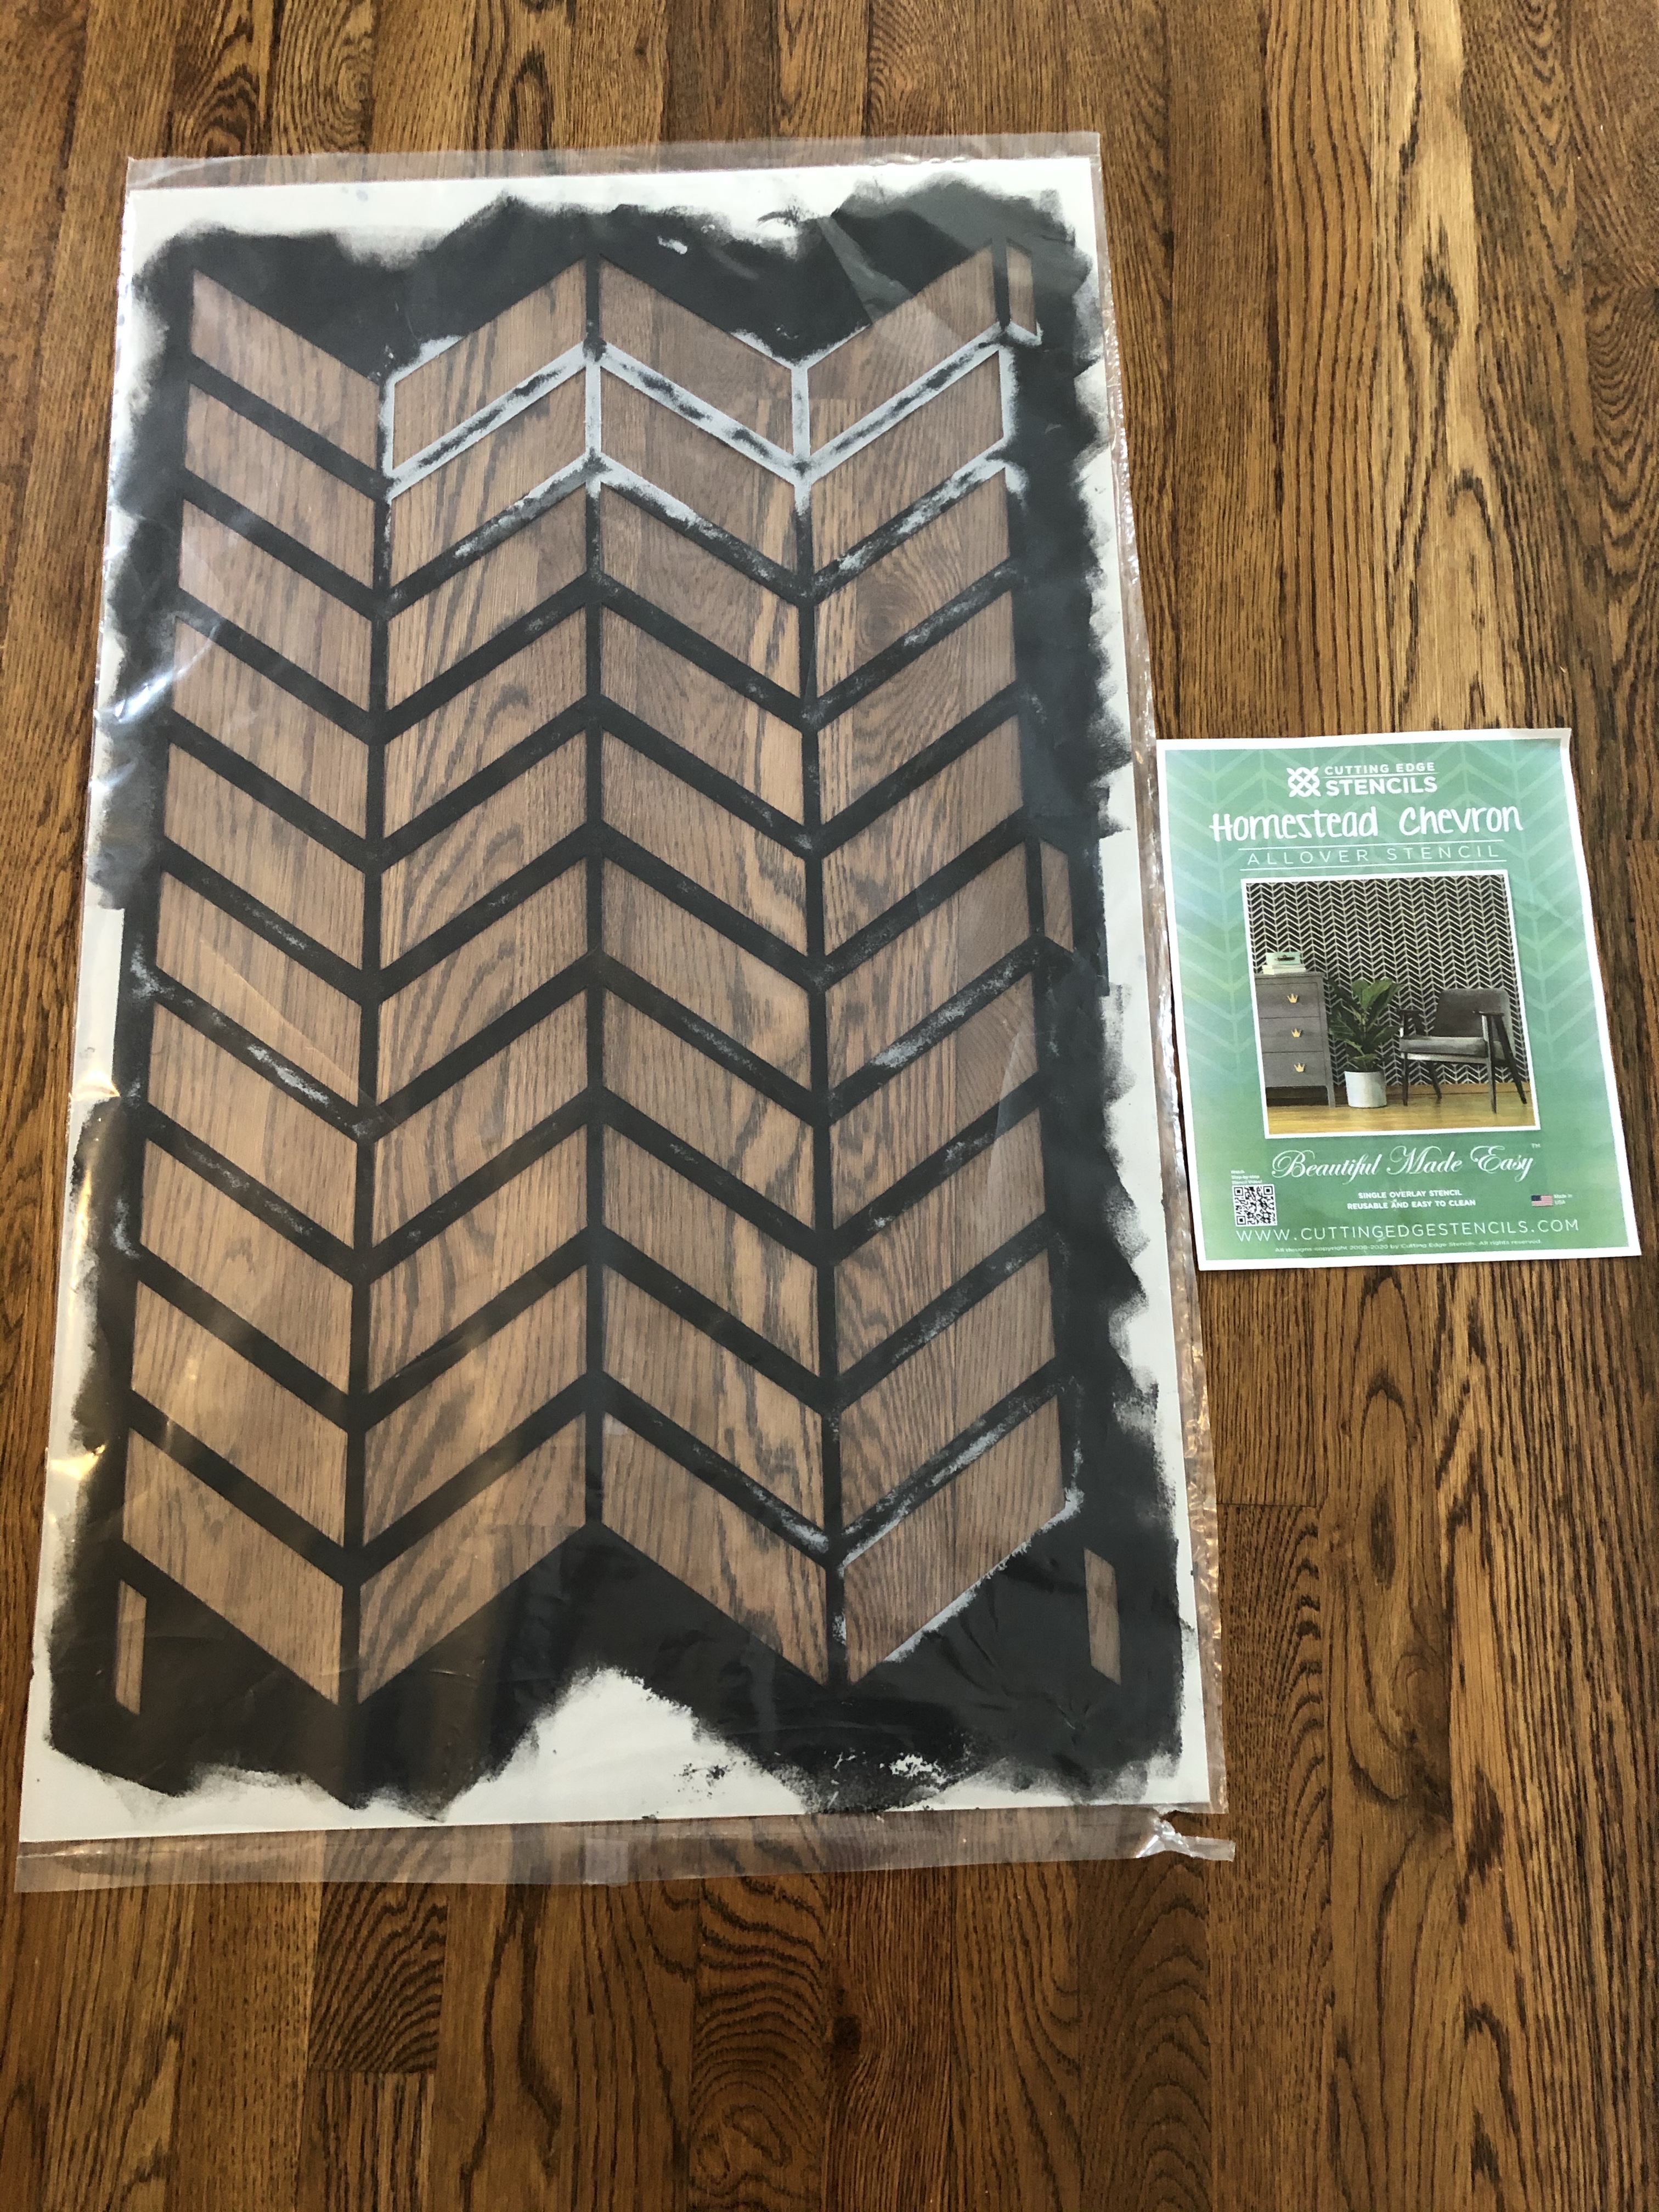
Before I started stenciling I sprayed the back of the stencil with a spray adhesive to prevent movement while painting. Make sure to use an adjustable spray adhesive to prevent the stencil from sticking to the floor. I found this at Michael’s. I then laid out the stencil in the center of the floor and used my foam roller to apply the paint. I used Porch and Patio Enamel in Caviar Black from Sherwin Williams. I again paid more for a high quality paint that I knew would hold up through the laundry room traffic.
I prepped the roller by rolling it evenly in the paint then rolling it once or twice on a paper towel to offload some of the excess to avoid bleeding through the stencil. I very lightly started rolling the floor. You have to have a lot of patience for this part because the paint does not cover the floor in a few rolls. It takes many light back and forth motions to start to fill it in and then you can gradually increase the pressure of the roller as you go. If you start with too much pressure or too much paint, it’s bleeds really bad.
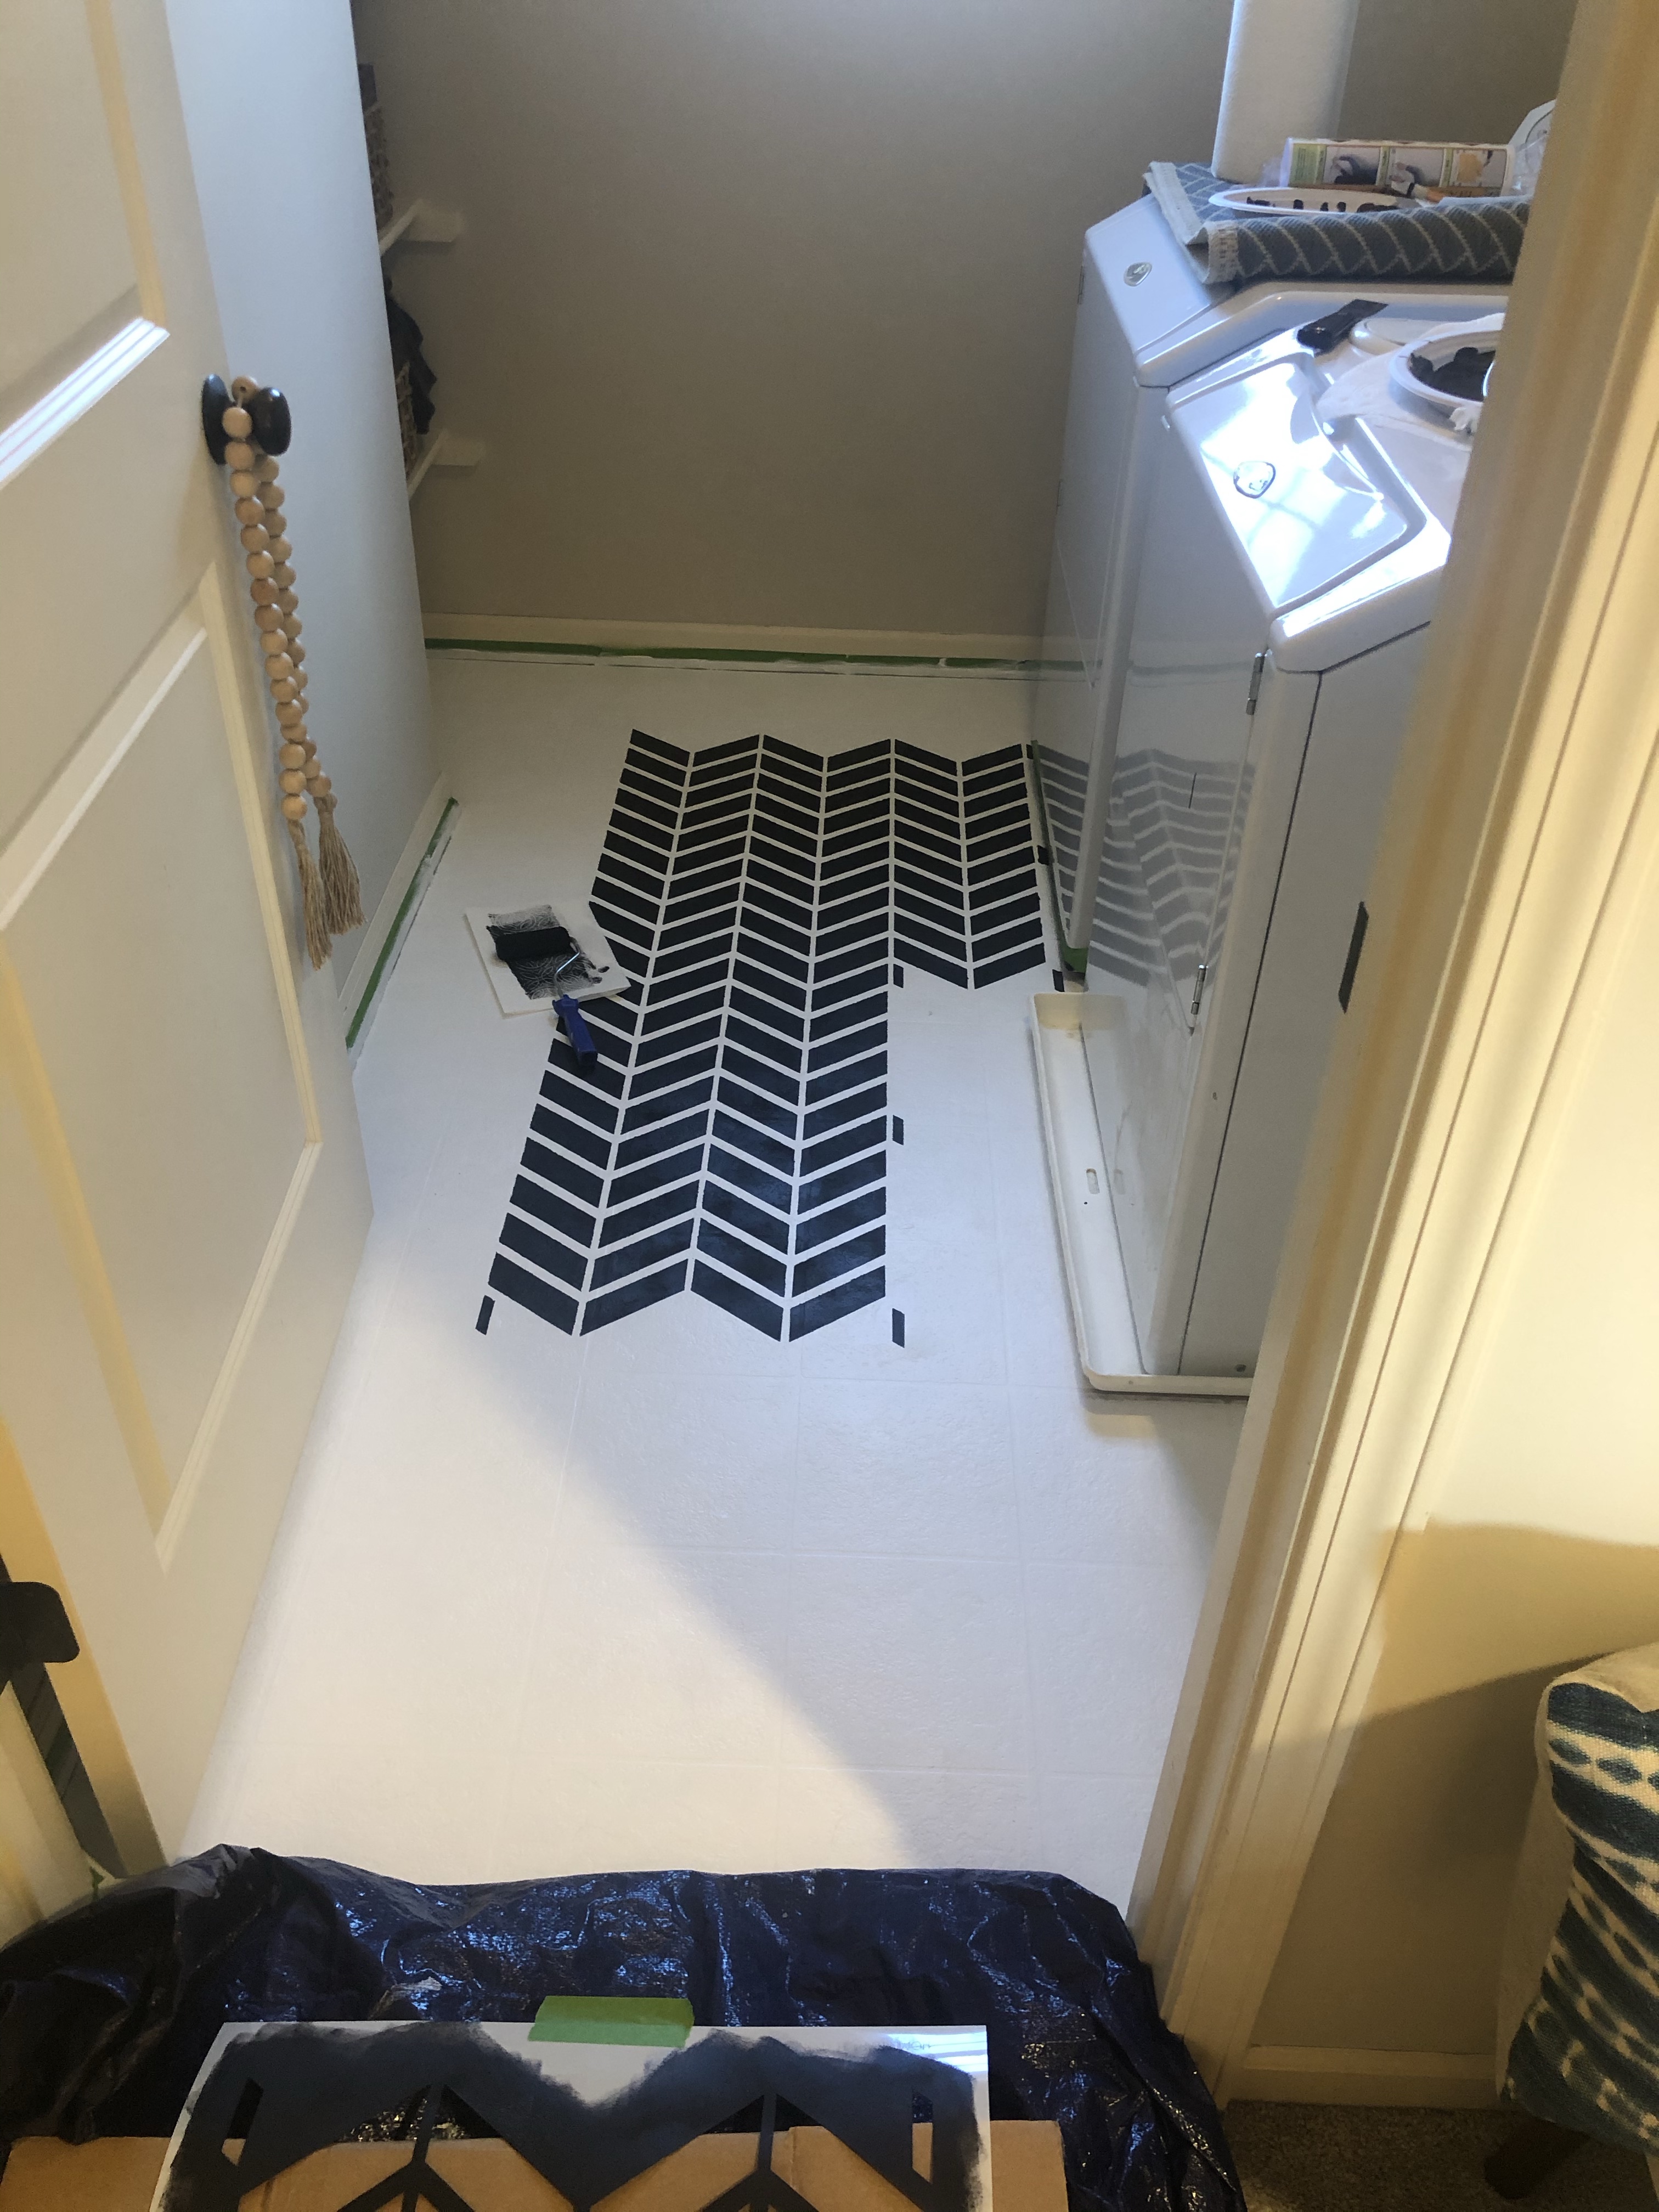
Once it was all filled in I pulled up the stencil. That’s my favorite part! You’ll notice there are notches to help line up the next part you are going to stencil. I always made sure to line those up perfectly before I started rolling the next section. You’ll notice in the above picture I didn’t move my washer and dryer out of the room. I didn’t want the hassle or for them to be disconnected during the whole project. So I moved them back and forth during each step to cover just enough under them to appear the entire floor was done. Because I know I will be laying tile at some point, I was fine with this. If this is a permanent thing I would probably move them out of the room entirely, in case you ever get new appliances that cover a different area. Now for the tricky part, the baseboards. A tool that is definitely needed for this area is a stencil brush. I ordered one from the stencil website but you can just pick one up from Lowe’s or a craft store. The best way I found to stencil up to the wall/baseboard was to fold the stencil up against the wall and push down the stencil with my fingers while blotting the floor with my stencil brush. I also off loaded the stencil brush on my paper towel before using it on the floor to avoid bleeding. Don’t worry about a little bleeding during this part, it’s going to happen but you can fix it later. The important part is you are tapping the floor with the brush to fill in the paint, versus brushing back and forth as you’d normally use a paint brush.
So once I had a little over half of the floor done, I decided I wanted to do something a little more unique that just a black and white pattern. I made an on the fly decision to do an hombre color change with grey. So I gradually mixed in white paint to my black to make dark grey and kept mixing in white as I stenciled until I ended with a very light gray color.

One thing to note while moving the stencil around from section to section is that while the paint does dry quickly because it’s a thin coat, it did make some marks when I was positioning it in the next spot. To avoid this I used my hairdryer to make sure the part I just stenciled was all the way dry before placing the stencil again. Sometimes you’ll have to place it over a part you just stenciled to line it up correctly for the next section. I also used my hairdryer to dry the stencil itself before placing it again to make sure I wasn’t getting paint marks where I didn’t want them.
Step 5: To get the best durability, I sealed the floor after I was done stenciling with polyurethane. It’s recommended to do at least 2 coats so that’s what I did. I used my foam roller again to apply this.

Step 6: After the stenciling is complete, you’ll want to do some touch ups to clean up any spots that may have bled through the stencil. I found no matter how careful I was, this happened in some areas. I used the thinnest paint brush I could find at my house to use my white paint to clean up the lines. Even if this is not perfect I found that your eye looks at the pattern as a whole when it’s all finished. So I worried about the imperfections when they didn’t really matter in the end.
THE FINISHED PRODUCT
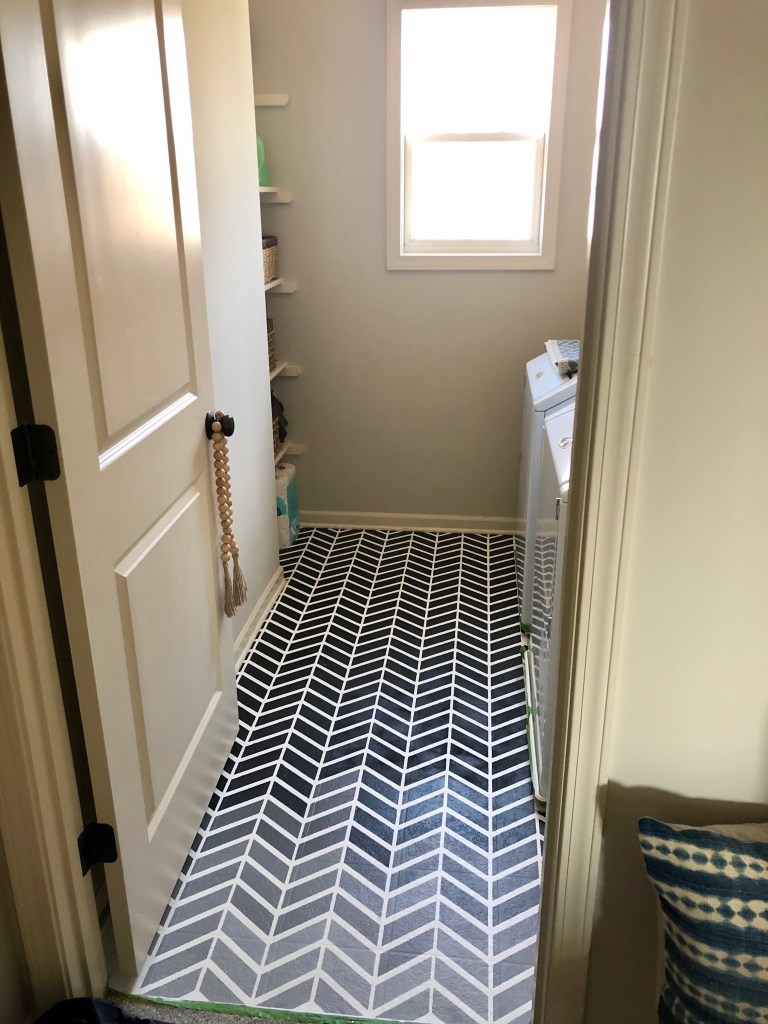
SO much better than before. I’ve been using the floor for about 3 weeks now and everything is still looking good so far. I don’t think that paint is chipping anytime soon with all the steps taken to ensure it’s durability. I already have my next stencil project planned because it’s addicting!!!
