
I’m so in awe of all of the fun DIY ideas out there and how creative people are. That is the main reason I am on Instagram; to find inspiration and to hopefully give some along the way. This project was a must try for me because I am loving vintage looking planters/pots/vessels right now. I also want to try this on a lamp. That will be my next thrift find I use this method for. The problem with buying vintage/found pots is that they are SO expensive. However, there are clever people out there like @jaci.daily who have figured out a way to create them with cheap vases or lamps, hence how I created a vintage looking pot for $20.

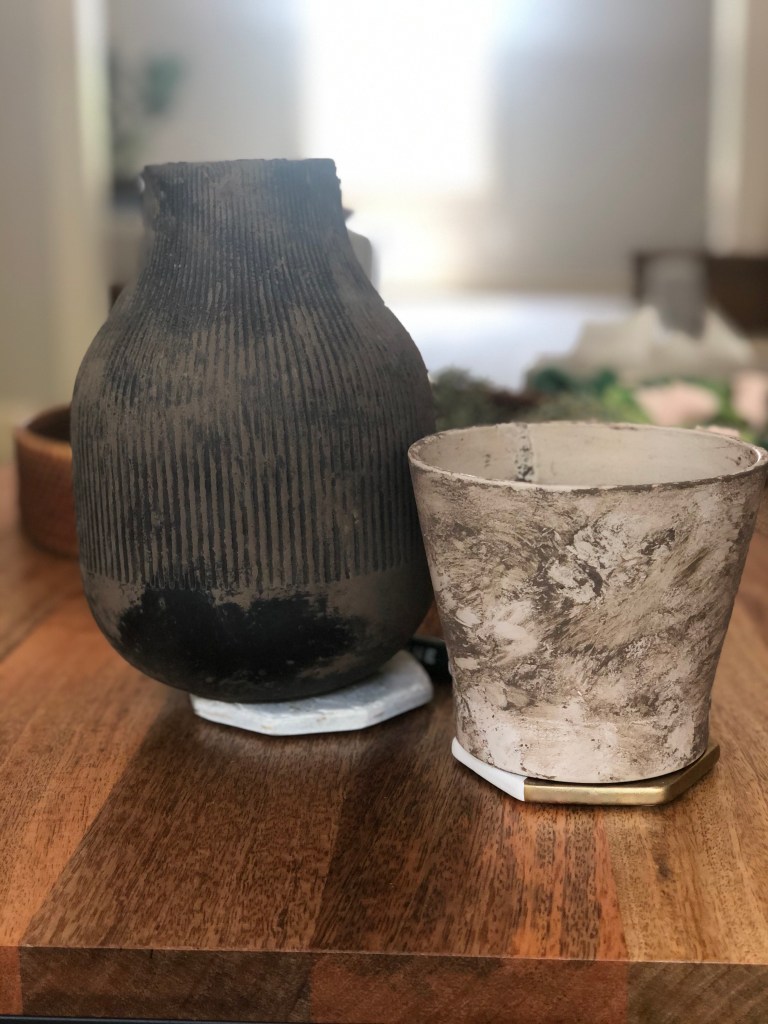
This project took several tries to get right so let me tell you what helped me to finally arrive at my desired outcome. I started with two IKEA pots that I used specifically because I didn’t want to mess up something I cared about. The problem with these is that they were the wrong texture and didn’t create the right look. It basically looked like I spray painted them then rubbed them in dirt. Not exactly what I was going for. Ha! These pots are smooth where this method works much better with a textured pot such as terracotta or cement. I thought the larger one with the ribbed texture would work but that was not the right kind of texture.
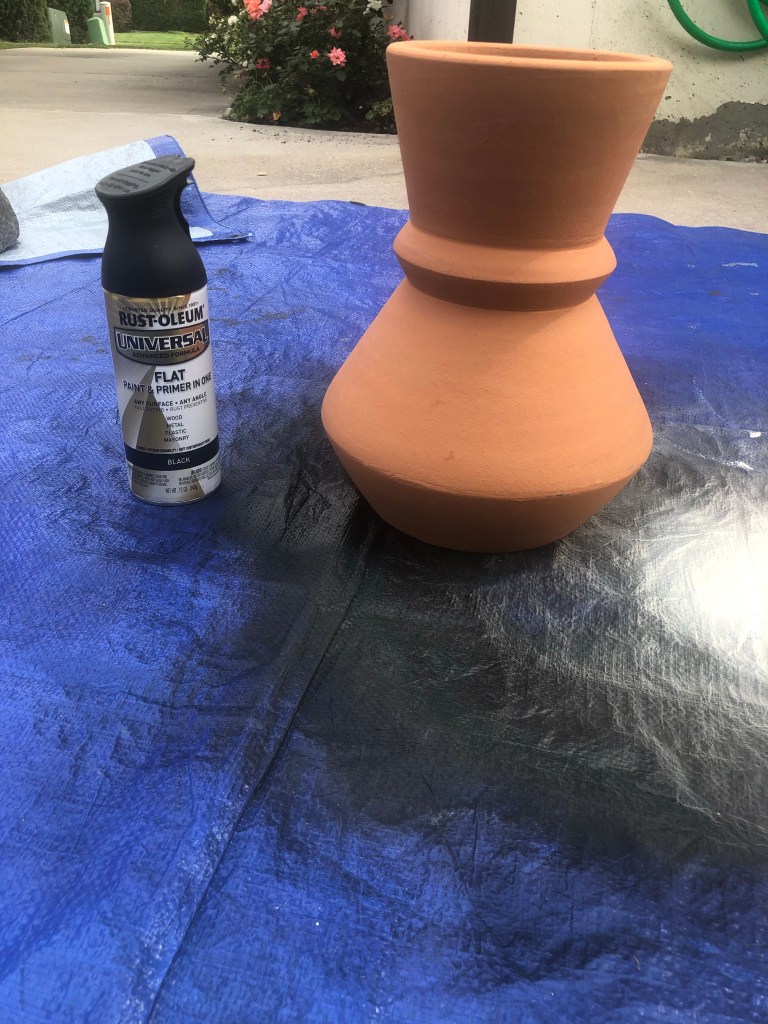
What you’ll need:
Terracotta or cement vessel
Flat spray paint
Mud
Gloves
Here’s how I was successful. I finally went out and bought a terracotta vase that I really liked which was only $20 from HomeGoods. I sprayed it with one coat of Rustoleum flat black spray paint and left just a little of the terracotta color peeking through. I then wore gloves to spread mud in a horizontal motion around the pot. I went with the natural grain of the pot. I was also a little more strategic with how I applied the mud than the first couple of pots. I rubbed on more mud in some spots than in others which added to the natural vintage look. Also, make sure to let your pot dry overnight between steps (after applying spray paint, then after applying the mud before you wipe it off).
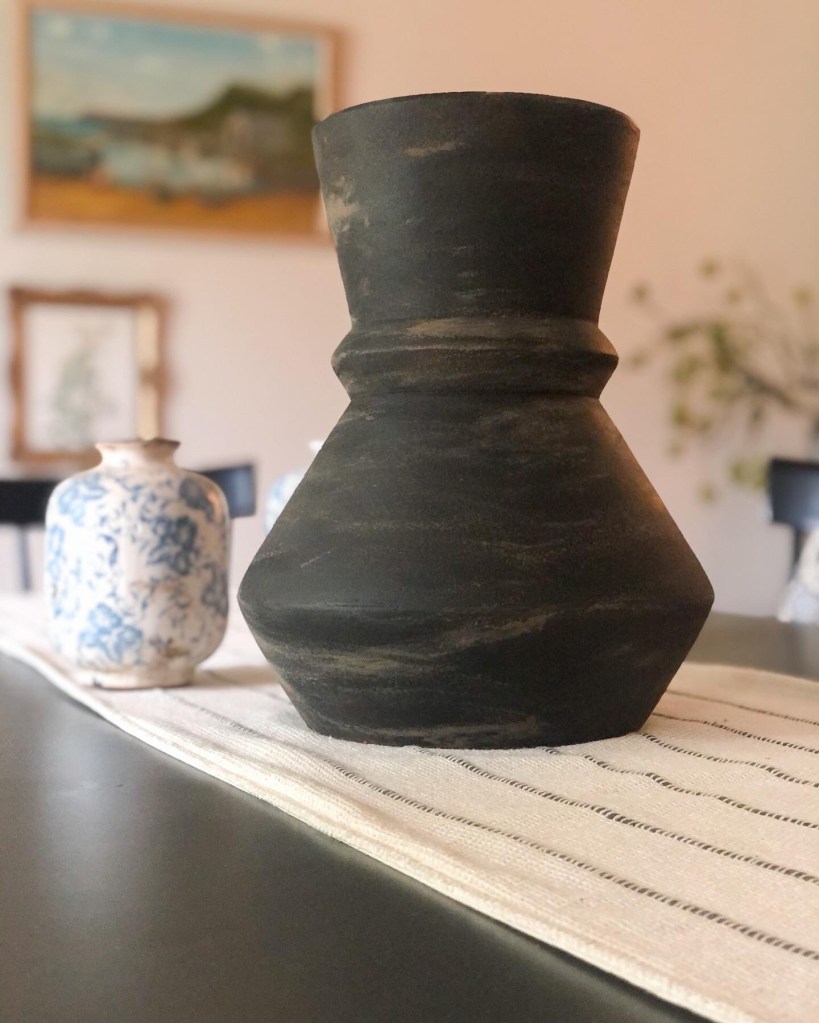
I may even go back and add a little more mud in a couple places but I was pretty happy with how this turned out. I can’t wait to try it again and continue perfecting the method. Happy vintage potting!
