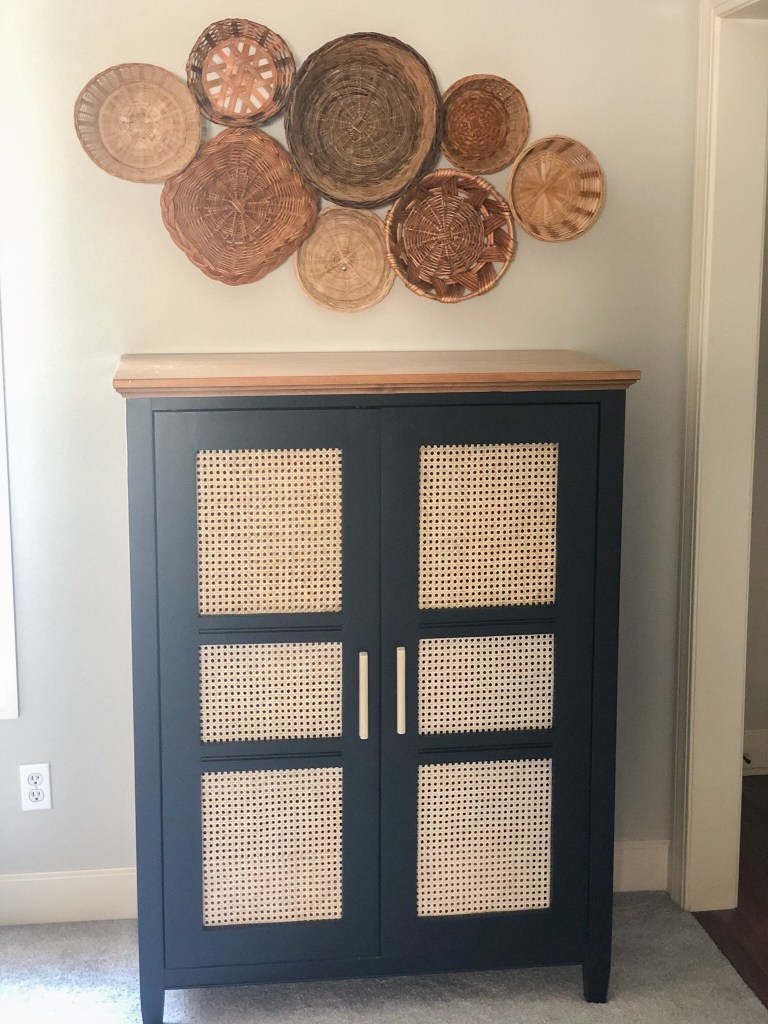
I love pretty much everything cane right now (like the rest of the world) and I had been searching for a reasonably priced cane cabinet. Here’s the thing, they don’t exist. So I decided to look for an old cabinet on FB marketplace and add my own caning. I found a cabinet that had the perfect layout to add in cane, I just had to make cutouts in the doors to replace with caning.

I started by removing the doors and cutting out the squares in the doors with a jigsaw. I had never used one of these before but it wasn’t as scary as I thought. I was lucky enough to have my dad let me borrow his which also came with a safety lesson. The hardest part was getting the cut started. So we drilled a hole in all four corners of the square being cut out and then it was easier to start the jig saw cut by inserting the blade into the drill hole.
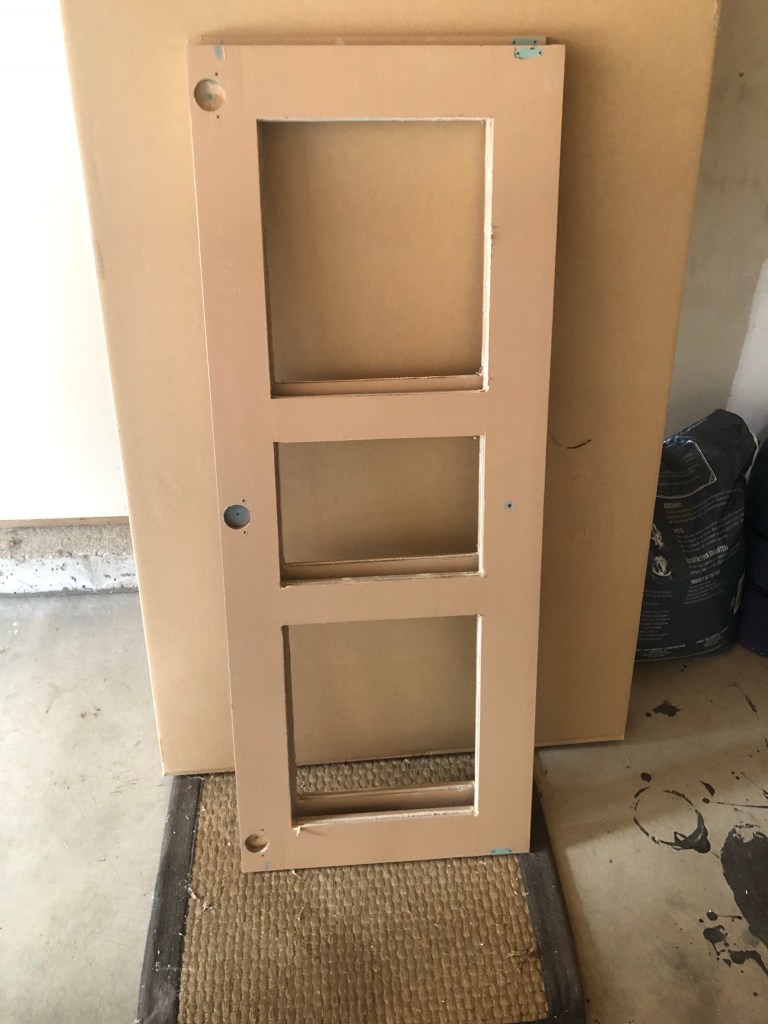
I followed the lines that were already established on the doors but if you’re starting with a door or drawer that doesn’t have those you could measure and draw out your own cutout lines.
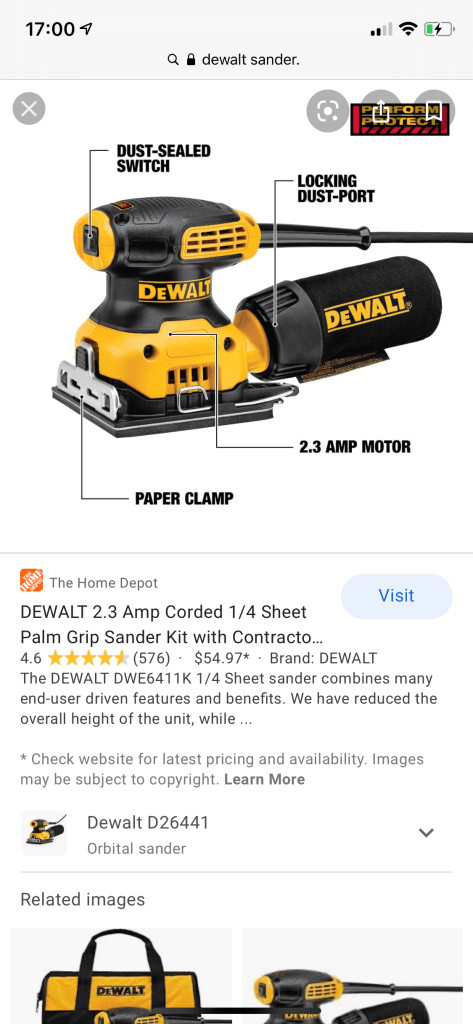
Once the cutouts were made I started sanding. This part took the longest by far since I had to sand down all of the new edges I made that were not perfect to begin with. I actually went out and bought an orbital hand sander because doing this by hand may have taken decades. I bought the DeWalt orbital sander that was only $50 and it worked like a charm.
First I used 80 grit sandpaper to smooth the edges and then went over it with 120 grit which made it very smooth. I also sanded the rest of the surfaces of the cabinet with the same grits so I could repaint it.
Once the sanding was done I painted the doors and the base of the cabinet with Tricorn Black by Sherwin Williams. I used an enamel paint vs. a wall paint. It took 2 coats to fully cover the cabinet/doors.
Next came the fun part. Adding the caning! I bought cane webbing off of Etsy. It is sold by the foot and also by the inch (depending on the shop you buy from). So I measured the doors and ordered enough to cover the length of each door. First I soaked the cane webbing in the bathtub for an hour. Then it was much easier to flatten and work with. Then used a staple gun to adhere it to the back of the cabinet door.
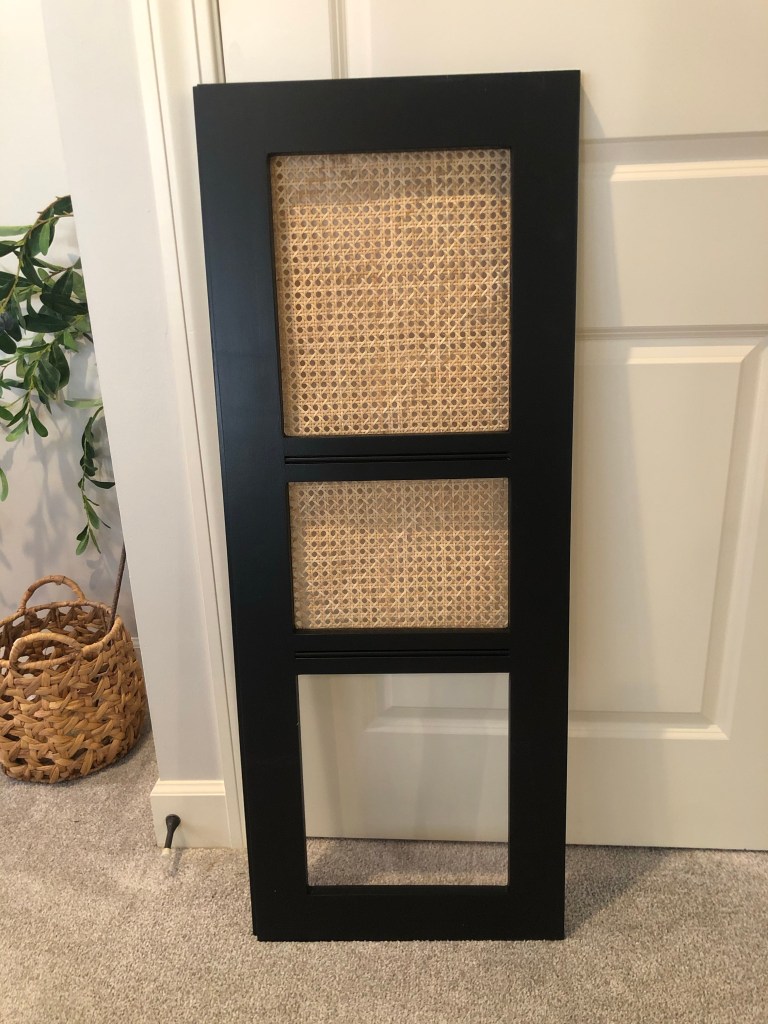
I was going to do a fine box caning on the bottom cutout but my shipment was delayed due to Covid and I still don’t have it. So I caned the entire door with the same type. The good news is you can always take it off by pulling out the staples. I plan to change it up at some point which will also change the look of the cabinet to keep up with the type of caning I like at the time!
Last came the handles. I was originally going to use a 1×2” for the handles but then I saw Karla from @thefisherhouse make handles for her cabinet out of dowels. It was a little more time consuming but it was worth it because the handles are now my favorite part!
For the handles you take two half inch wooden dowels and sand one edge down on each so they can be glued together. Karla had a belt sander but this girl did not. So it was extremely difficult but I managed to do this using my orbital sander. It was not ideal but it got the job done.
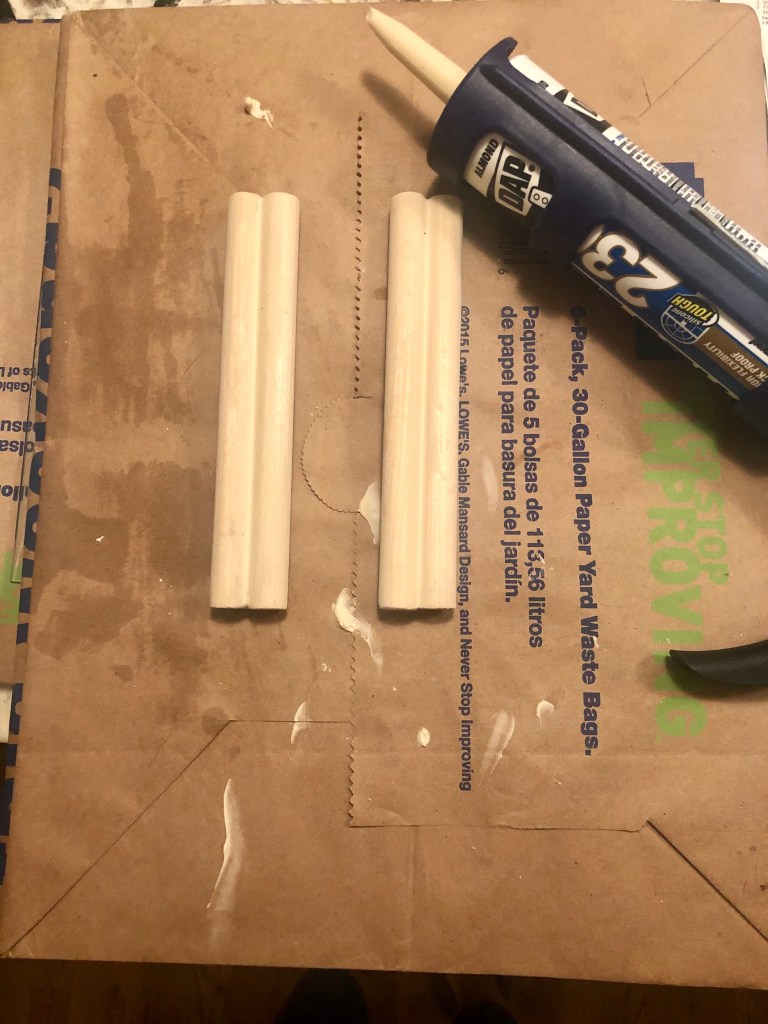
I glued them together using liquid nails and then I caulked the joints with almond colored caulk to make them look more finished. I left them natural since my cane webbing was the same color. Be sure to drill pilot holes in the dowels before drilling them into the door because the wood seemed like it would split easily.
Finished product——Happy caning! Tag me if you try this, I love seeing the different caning hacks everyone is trying!